Everything You Need to Know About Installing Senegalese Twists
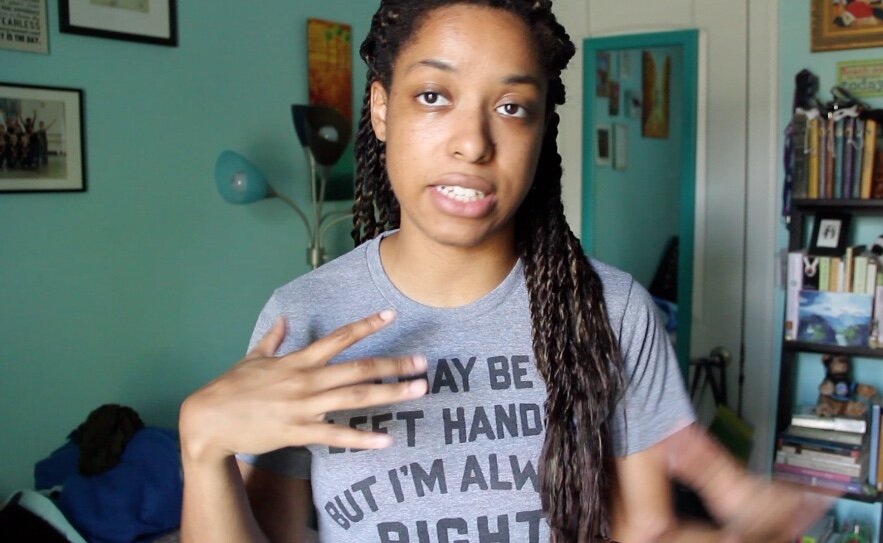
 So, you guys are fully aware that I'm natural and have undergone a long process of learning to love my kinks. I wouldn't call myself a connoisseur of protective styles, although I love them and typically use one about once or twice a year. I've had crochet braids, Marley twists and box braids. The latter is the only one I've had installed professionally.This time I'm going to install Senegalese twists and you're going to join me in this process. I have detailed in the post all of the products I used, where I purchased them from and how I did it (complete with video).The only reason why I don't use protective styles more often is because they take SO LONG to install on my hair. My hair is very thick and dense, so you can easily look up two hours into an install and realize that barely a half of my head is complete. That's the frustrating part, but I have some time on my hands this weekend, so I'm going to put everything aside, grab some of my favorite tunes and get to twisting!
TOOLS AND PRODUCTS